AWS Modernization with Datadog > Use and Monitor the App on EC2 > Module 1.1: Use the Application > 1.1.3 Implementing Real User Monitoring
1.1.3 Implementing Real User Monitoring
- Navigate to Real User Monitoring at this URL: https://app.datadoghq.com/rum.
- Click the button to create a New Application.
- For Application type, choose JS.
- Enter frontend for the Application Name.
- Click the Create New RUM Application buttton.
- Take note of the applicationId and clientToken strings.
- In the terminal that is running the puma app on the frontend, press control-c to quit puma.
- Edit ~/.profile. If you know vim, you can use that, otherwise nano is also installed.
nano ~/.profile. - The last two lines of the file set the DD_CLIENT_TOKEN and DD_APPLICATION_ID. Set the values using what you collected from the RUM UI. Then save the file.
- Type
exitto logout, and then ssh back into the host. - Change directories to /app and run
bundle exec puma --config config/puma.rb. - Visit the application website and do a search and add something to the shopping cart.
- Switch back to the RUM UI. Within a few seconds you should see the page verify the installation.

- Now you should be able to move on to see the session you just started.
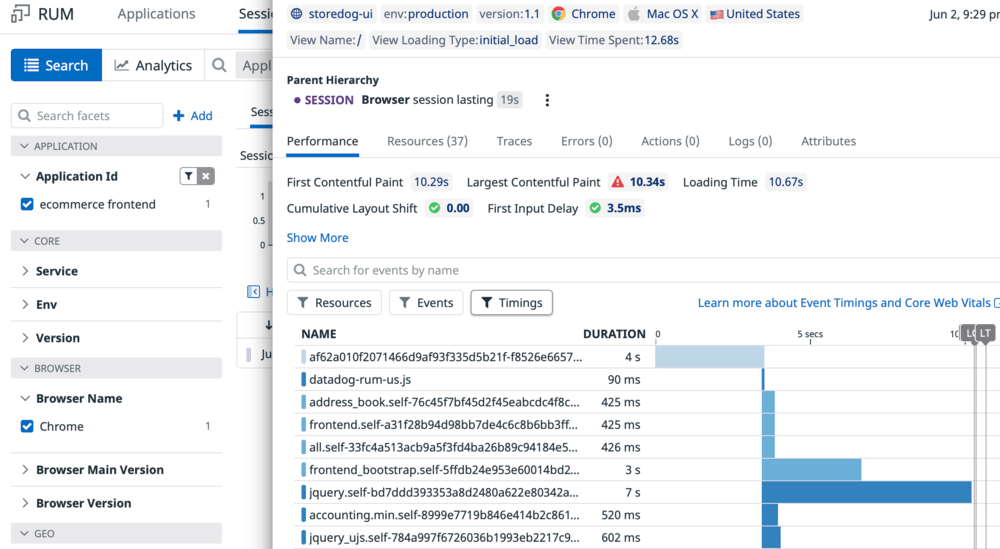
Real User Monitoring is great to see how your users are actually experiencing the website. Try visiting the application site and navigating around to a few different pages. Run a search. Then update the session in RUM to see the updated flow.